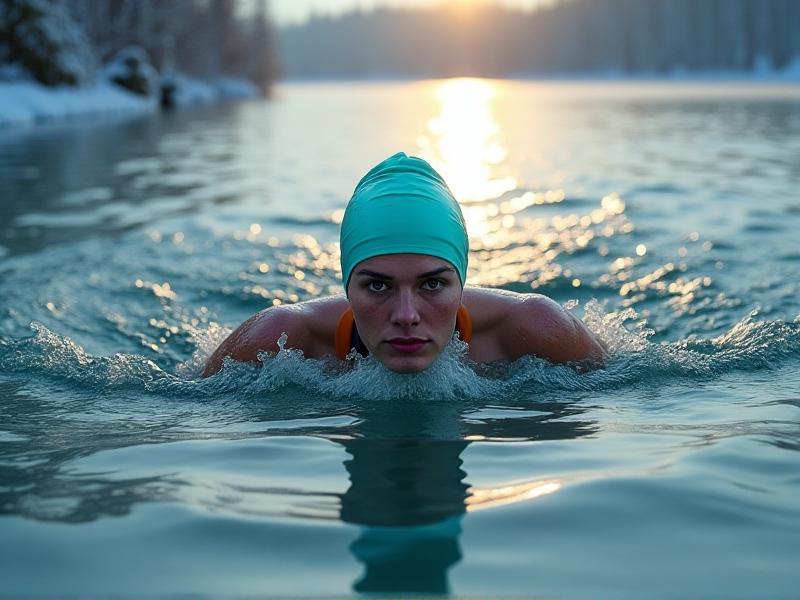
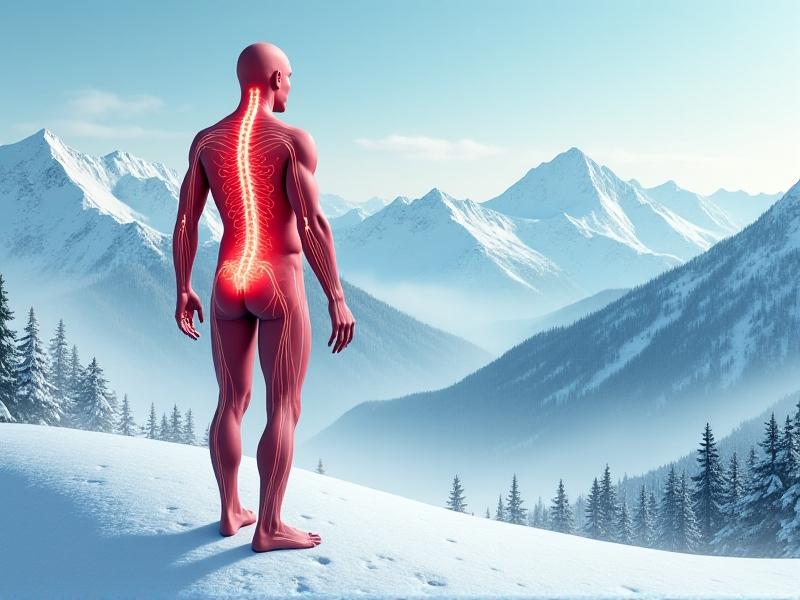
Understanding the Unique Risks of Winter Open Water Swimming
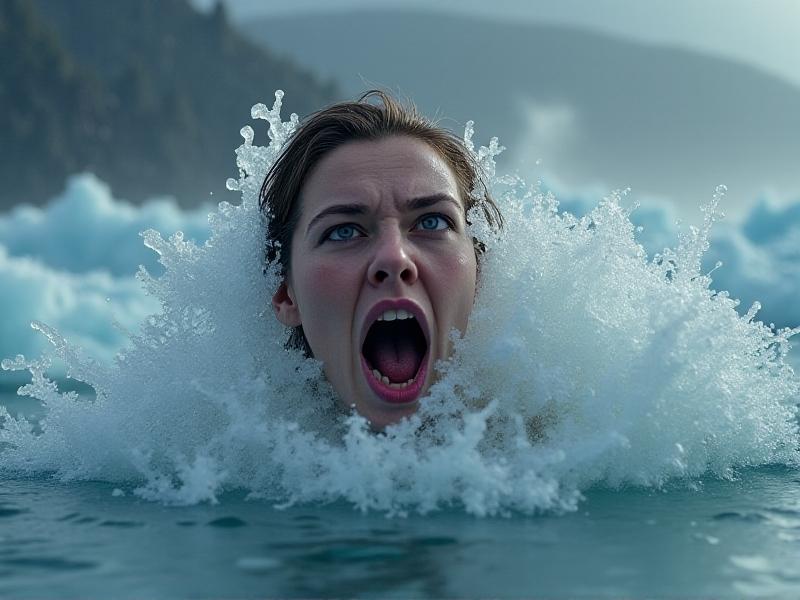
Winter open water swimming presents distinct challenges compared to warmer seasons. The primary risks include cold shock, hypothermia, and sudden changes in weather or water conditions. Cold water immersion can trigger involuntary gasping and increased heart rate, leading to panic or cardiac stress. Hypothermia, a gradual drop in core body temperature, impairs motor skills and judgment, making it harder to exit the water safely. Additionally, icy edges, reduced daylight, and limited visibility amplify hazards. Swimmers must recognize these dangers to prioritize preparedness and adapt their approach to winter conditions.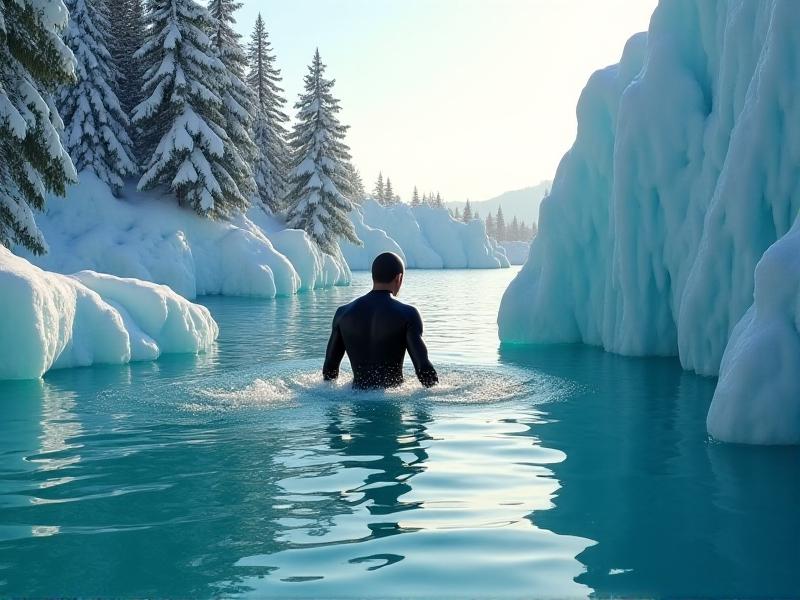
Pre-Swim Health Assessment: Are You Physically Ready?
Winter swimming demands cardiovascular resilience and cold tolerance. Consult a physician to rule out heart conditions or respiratory issues exacerbated by cold exposure. Assess your experience level—beginners should avoid extreme temperatures below 5°C (41°F). Conditions like Raynaud’s syndrome or asthma require special consideration. Regularly monitor blood pressure and avoid alcohol consumption, which impairs thermoregulation. A thorough health evaluation ensures you’re not just mentally determined but physically equipped to handle cold-water stress.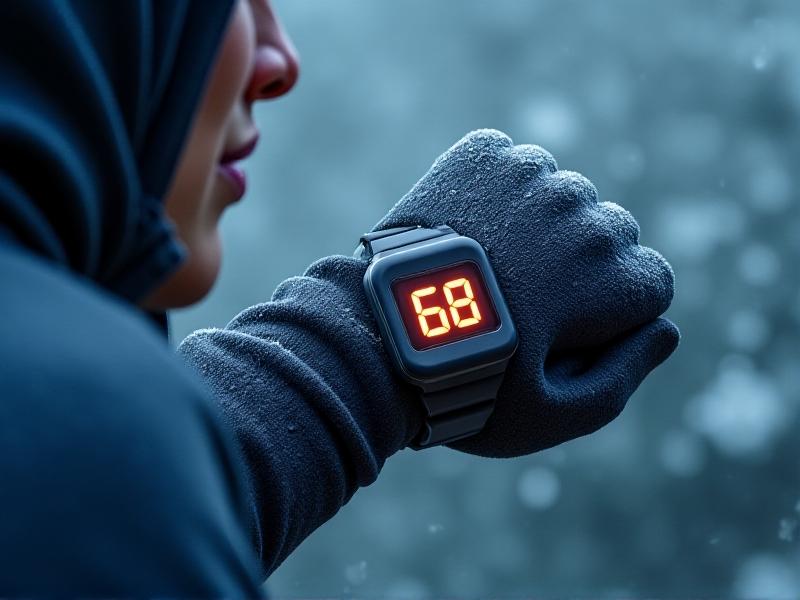
Essential Gear for Winter Water Safety
Specialized equipment is non-negotiable. A 5mm neoprene wetsuit with integrated hood and gloves provides core insulation. Bright-colored swim caps enhance visibility, while silicone earplugs prevent exostosis. Attach a waterproof safety buoy to stay afloat and signal your location. Carry a thermos of warm hydration and a microfiber robe for immediate post-swim rewarming. Anti-fog goggles with UV protection combat glare from ice and snow. Always test gear in controlled environments before relying on it in open water.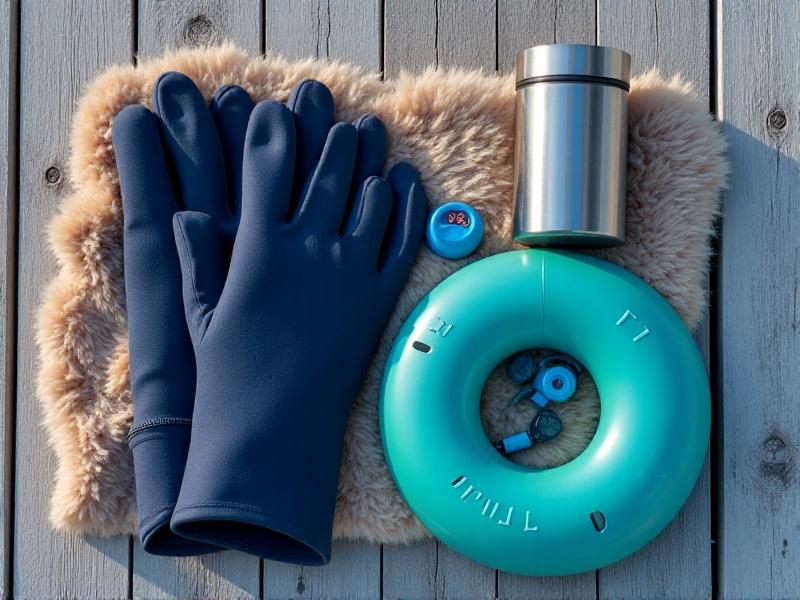
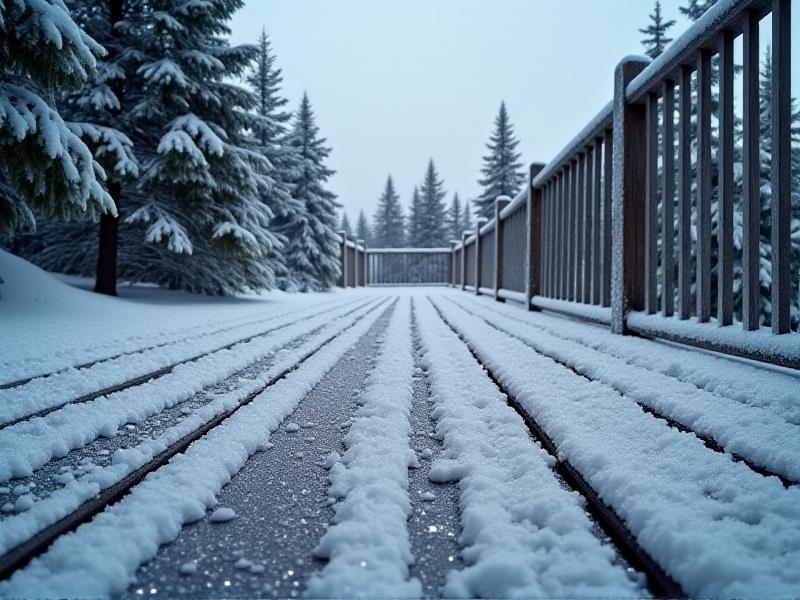
Site Selection: Identifying Safe Winter Swim Locations
Opt for locations with gradual entry points and minimal current. Avoid areas with thin ice or overhanging snowbanks that could collapse. Prioritize spots near accessible roads and ensure mobile network coverage for emergencies. Coastal areas require tidal charts—rip currents intensify in winter storms. Lakeside saunas or heated shelters within 100 meters enable rapid rewarming. Scout locations during daylight first, noting submerged hazards like logs or rocks that ice may conceal.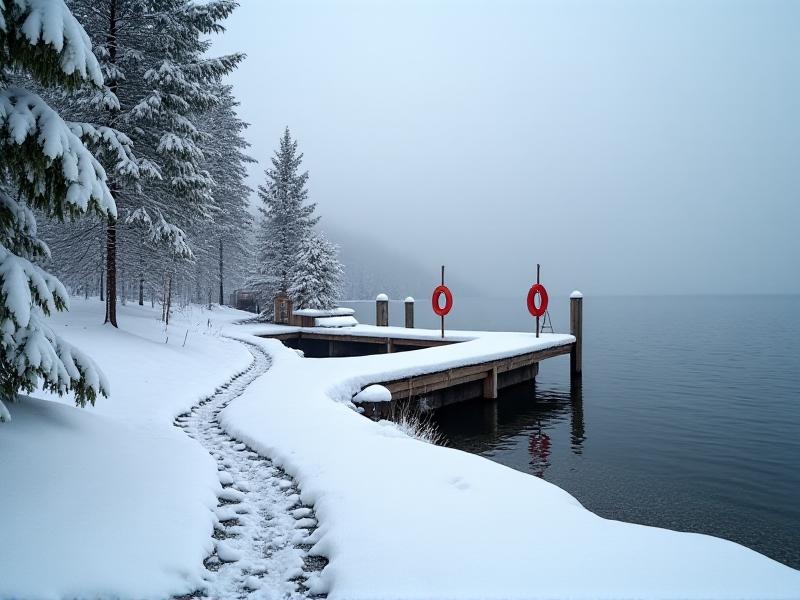
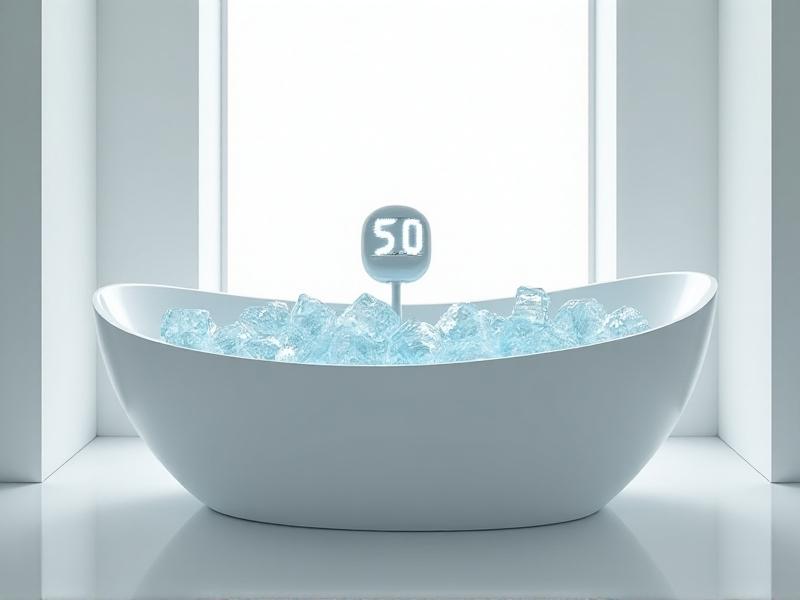
Interpreting Weather and Water Condition Indicators
Check water temperature, wind speed, and air temperature collectively. Water below 10°C (50°F) mandates strict time limits—start with 5-minute sessions. Wind chill accelerates heat loss; avoid swimming if winds exceed 15 mph. Use a calibrated thermometer to measure both surface and subsurface temperatures, as thermal layers can vary. Monitor barometric pressure drops indicating approaching storms. Apps like Windy or regional hydrographic services provide real-time data crucial for decision-making.Cold Acclimatization Techniques for Safer Immersion
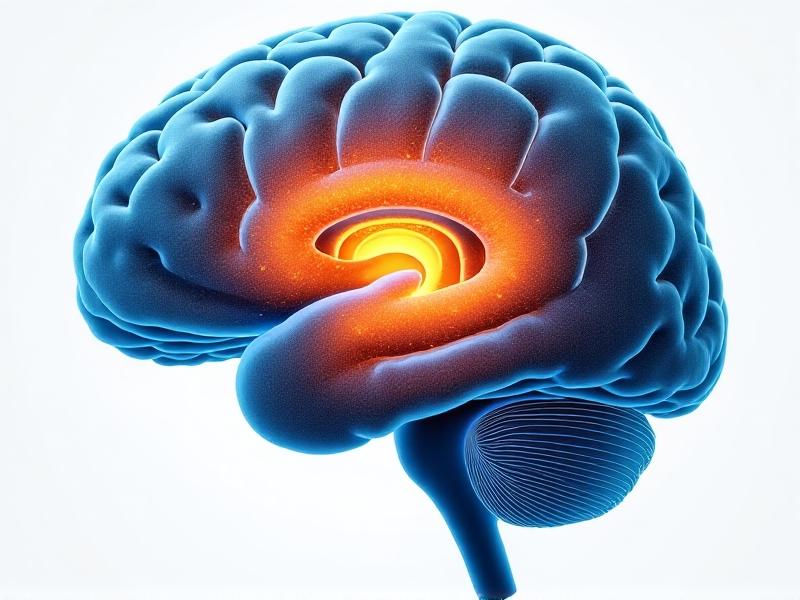
Gradual exposure builds cold tolerance. Begin autumn sessions with weekly 10°C dips, decreasing by 1°C weekly. Practice controlled breathing—inhale deeply before entry, exhale slowly to counter cold shock response. Submerge face first to trigger mammalian dive reflex, slowing heart rate. Limit initial winter swims to 2-5 minutes, focusing on calm adaptation rather than distance. Post-swim, allow natural rewarming without hot showers to enhance metabolic adjustment.Implementing the Buddy System Effectively
Never swim alone—partner with someone equally experienced. Establish clear hand signals for "distress," "time to exit," and "all okay." Position one buddy as shore monitor with throw ropes and emergency contacts memorized. Use waterproof walkie-talkies if swimming apart. Agree on abort criteria: if either experiences slurred speech, confusion, or loss of coordination, exit immediately. Practice tandem rescues monthly, simulating towing techniques in controlled conditions.Recognizing and Counteracting Hypothermia Stages
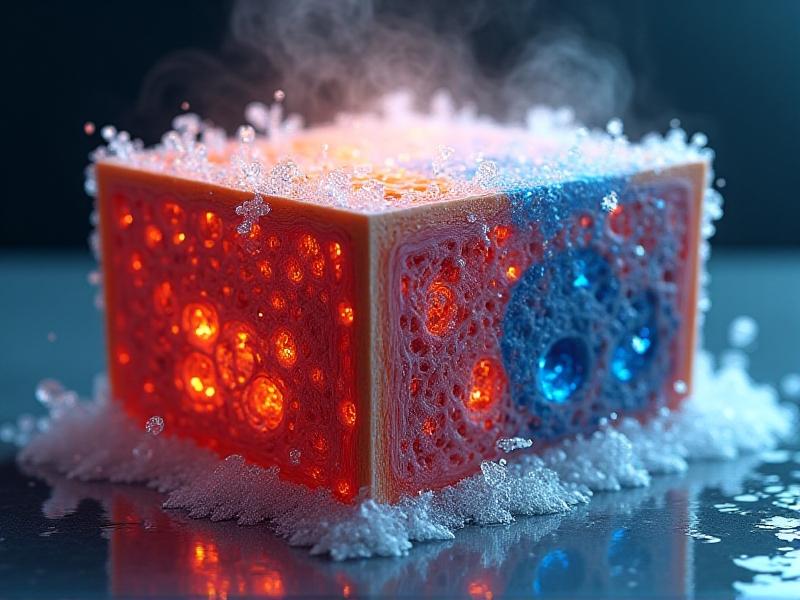
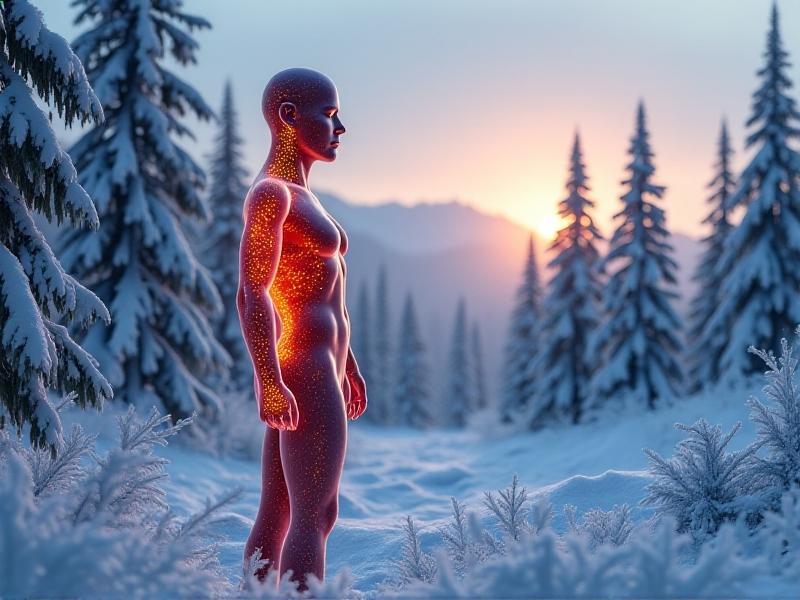
Stage 1 (Mild): Shivering, numbness, rapid pulse. Exit water immediately. Stage 2 (Moderate): Violent shivering ceases, clumsiness, slurred speech. Requires urgent insulation. Stage 3 (Severe): Pale skin, dilated pupils, irrational behavior. Treat as medical emergency. Learn the “umbles” test—stumbles, mumbles, fumbles, grumbles. Carry chemical heat packs in your safety kit, applying them to groin, armpits, and neck—not extremities. Avoid rubbing skin, which exacerbates circulation issues.Emergency Protocols for Winter Water Rescues
If stranded, adopt HELP (Heat Escape Lessening Position): knees to chest, arms clasped. Shore-based rescuers should use reaching poles or throw bags—never enter water without proper gear. Learn ice rescue techniques: distribute weight using crawl motions, carry ice picks for self-extrication. Every swimmer’s kit should include a whistle and waterproof strobe light. Memorize local emergency codes—many parks use colored flags indicating ice thickness.Post-Swim Recovery: Maximizing Safe Rewarming
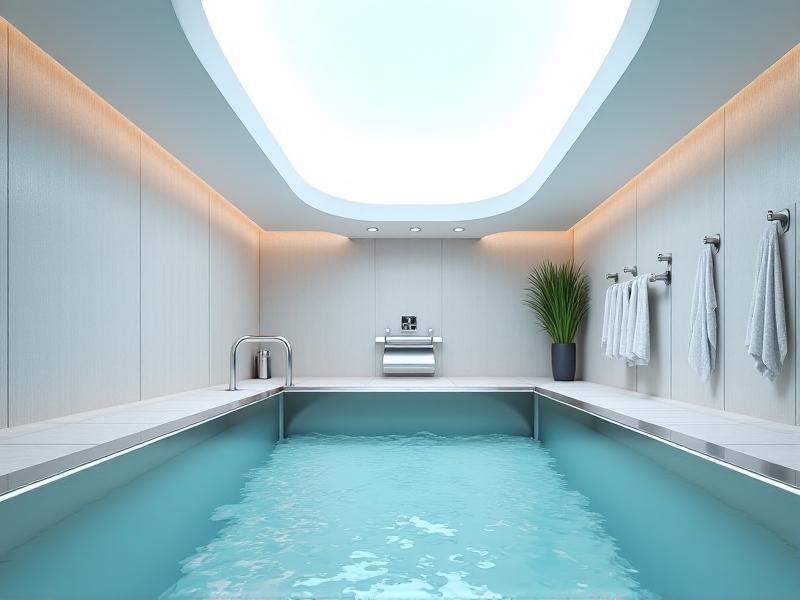
Within 10 minutes of exiting, remove wet layers and don dry woolen base garments. Consume 300-400 kcal of fast-acting carbs and proteins—try honey-laced oatmeal or thermal broths. Use mild exercise like slow squats to boost circulation without sweating. Avoid direct heat sources that could burn numb skin. Monitor core temperature for 90 minutes post-swim, watching for afterdrop—a dangerous secondary temperature decline. Document recovery metrics to refine future swim limits.Advertisement

Recommended Reading: Lymphatic System Stimulation via Cold Showers


Comments
Leave a Comment
Your email address will not be published. Required fields are marked *